Using Cardographer with Miro
2025-01-22 – updated for live view
A Cardographer Session can be linked to a Miro board. This allows you to:
- easily add Cardographer cards to the Miro board,
- save and analyse the state of the Miro board in Cardographer - see analysis,
- use the Cardographer Live Session view alongside Miro - see live view.
Miro is an online collaborative whiteboard system. To create a board in Miro you will need an account. There are free education plans available, at least as of December 2022.
To use Cardographer with Miro you need to install the Cardographer Miro "app".
If you have your own installation of Cardographer then you will need to set up a corresponding Miro app and share it: Miro gives a link which can be shared with potential users so that they can enable it.
If you are using the University of Nottingham/Horizon Cardographer installation then you should have been given an authorization link to use for the associated Miro app.
Click the link and (something like https://miro.com/oauth/authorize/...)
and pick the team/plan that you want to use it with.
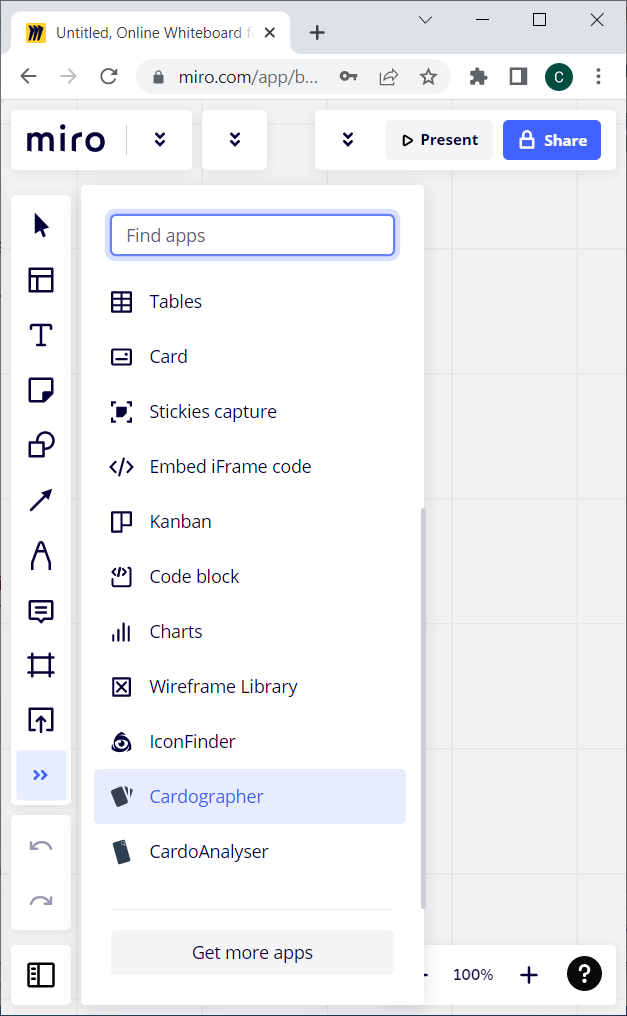
If you open a (new or existing) board within the team that has the Cardographer Miro "app" then the Cardographer Miro app should be visible in the Miro tools menu:
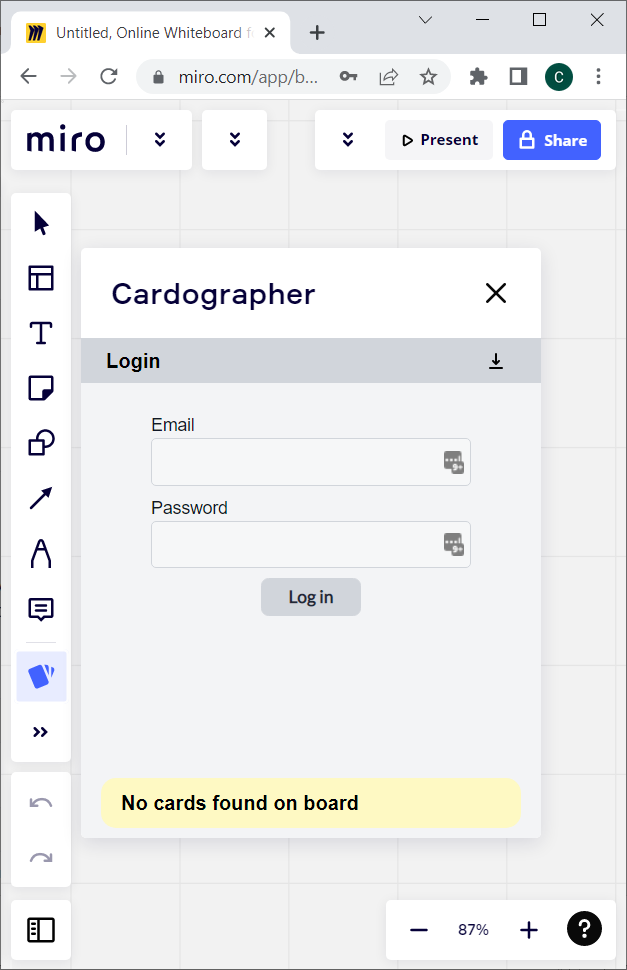
The Cardographer Miro app will first prompt you to log into Cardographer:
If you open the Cardographer Miro app on a Miro board for the first time then (assuming you have logged in as above) it will prompt you to select the Cardographer session that corresponds to this Miro board. This will show a list of all your current Cardographer sessions; scroll to the bottom to find the "Create New Session" option:

This will create a new session and link it to this Miro board. However, at this point the title is not very helpful (it is the Miro URL) and there are no card decks associated with the session.
Note, if have reached your session quota then you will not be able to create a new session and you need to delete an old session (in the Cardographer website) or ask the site admin to increase your quota.
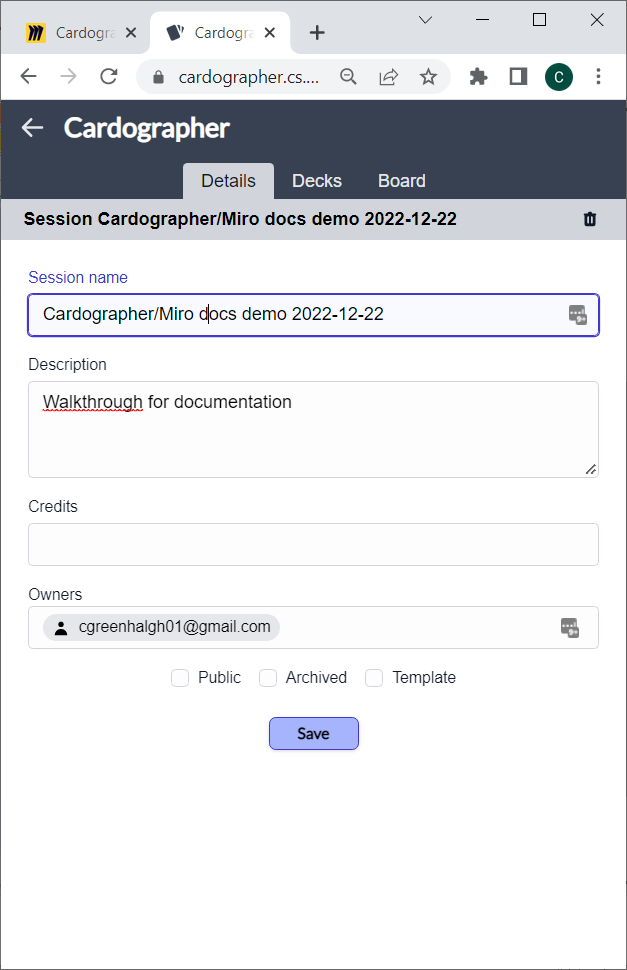
If the session was created OK then click the "open" icon (top right in the Cardographer miro app) to open the new session Cardographer website and give the new session an appropriate name (and optionally description); make sure you "Save" the changes:
Then select the session's "Decks" tab,
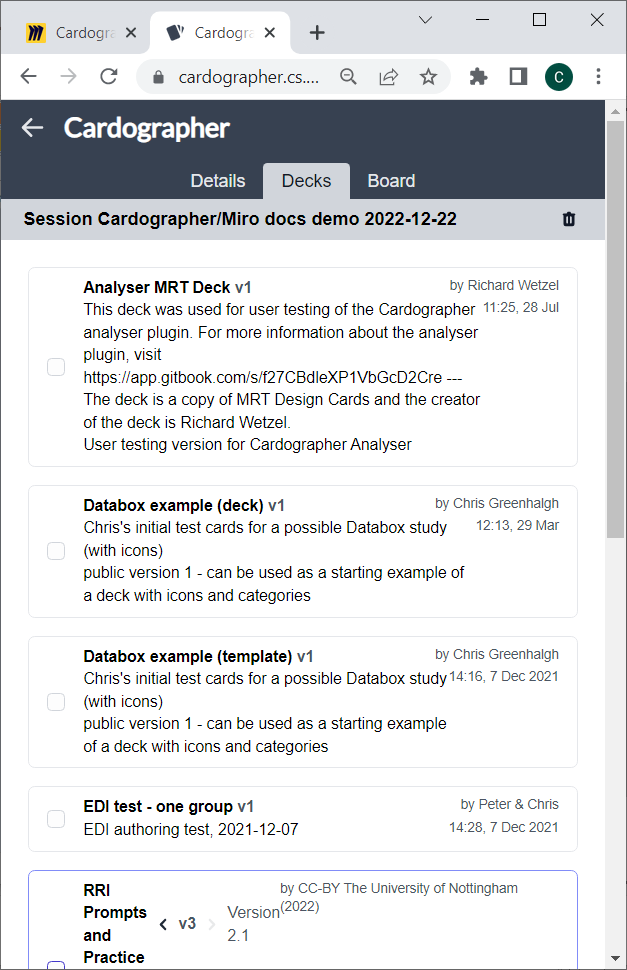
Select the deck(s) that you want to use with this board/session and click "Save" (at the bottom). (You can come back to the session in Cardographer at any point and update the list of decks associated with it.)
Go back to the Miro board and close and re-open the Cardographer Miro App; the Cardographer plugin should show your session title and two tabs, "Live" and "Session" (see below).
In Miro, with the Cardographer Miro App open and linked to a session (as above), on the "Session" tab you should see a list of the cards in the deck(s) that you have associated with this board's session,

Expand the details for a card, and click "Add" to add it to the board,

Move and resize the card as appropriate for use on your Miro board.
You can save the state of the Miro Board to the corresponding Cardographer session at any point using the "Save Session" button in the Cardographer Miro app (above). Each save is called a "Snapshot". Give it a description BEFORE you save it.
Note, if have reached your snapshot quota then you will not be able to create a new session snapshot and you need to delete an old snapshot (in the Cardographer website, you can find a session's snapshots in it's "Data" tab) or ask the site admin to increase your quota.
Cardographer assumes that the position(s) of card images may have significance. In particular:
- Each Miro "Frame" can be treated as a separate area or activity. For example, several groups using the same Miro board could each work in a different frame, or different stages of an activity might be done in different frames. Make sure that you give Miro frames meaningful titles.
- Cards that are outside of all Miro frames may be ignored completely.
- Cards that are inside a Miro shape are assumed to be associated with that shape. Usually the shape will be a rectangle, and you shape's text will be its label or meaning. For example, you could sort cards into either a box (shape) labeled "keep" or one labeled "discard".
- A shape with (for example) "@Player1" at the end of its title/content is assumed to be reserved for "Player1" in the live app, i.e. it is "Player1"'s hand.
- A shape with the text "Spotlight" is used by the live app to highlight cards, so any board to be used with the live app should normally have a brightly coloured "Spotlight" shape in it.
So in miro you should normally make one or more frames as top-level “card use areas”, and add shapes (e.g. rectangles) within that to create regions in which cards can be placed which have more specific meanings.
Make sure each frame has a title and each shape that you want to identify has some text on it – these are used to identify them after exporting.
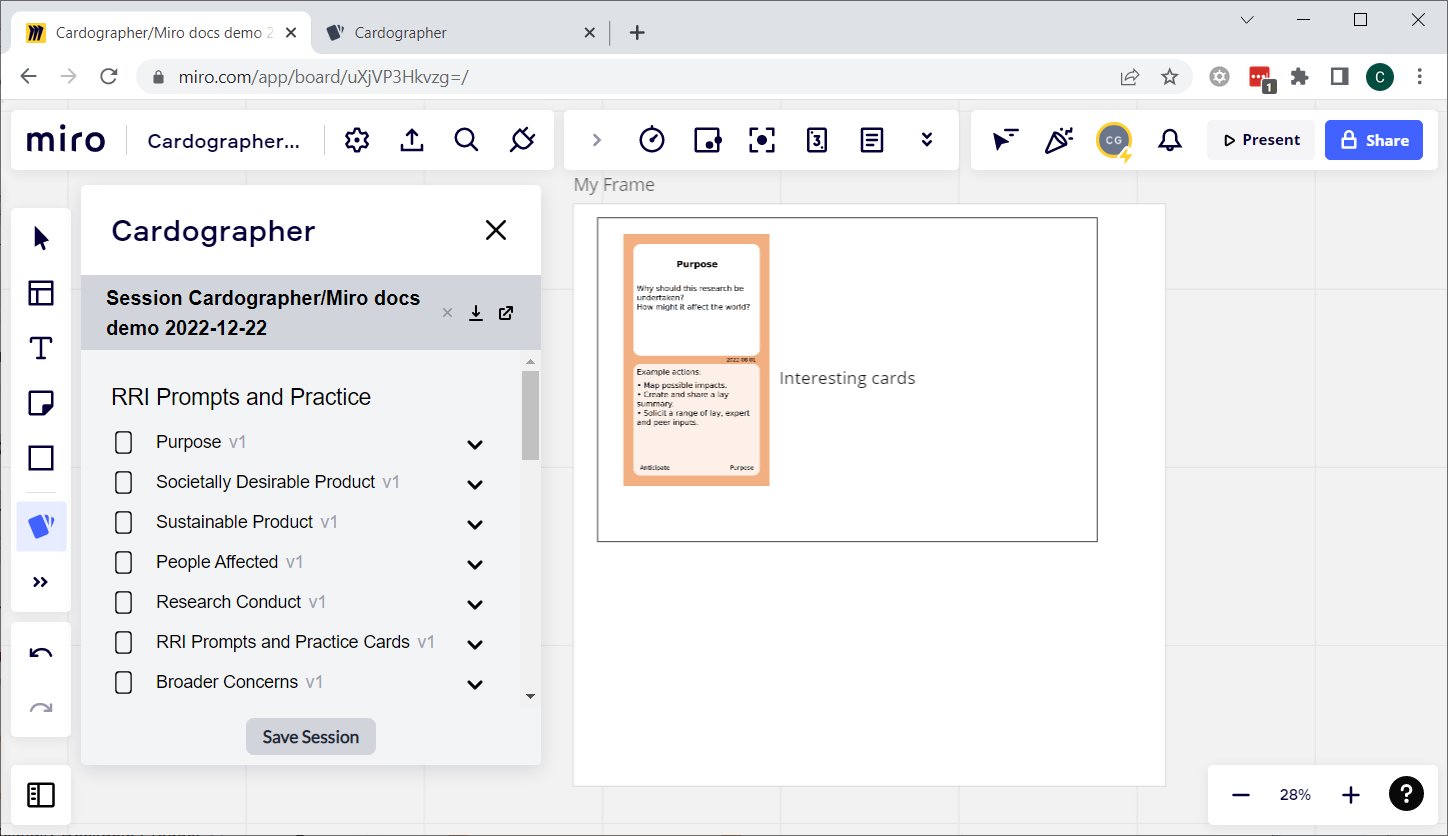
Here is a simple example board with one frame ("My Frame"), one shape (rectangle with text "Interesting cards") and one card (added as above),
Card images in Miro don't have to be added by the Cardographer Miro plugin. But the image file name or URL in Miro need to match the card ID in cardographer in order to match up the metadata at the analysis step.
If you build your cards in cardographer then you can also get them into miro by
- Making sure the IDs in the spreadsheet will uniquely identify each card (preferably something like “DECKNAME_CATEGORY_CARD”
- Building the cards in Cardographer
- Downloading the zip of _output with the image files
- Unzipping it
- Uploaded all the card images to a folder in onedrive
- Making a board in miro
- Using the Miro “Upload” option, enable onedrive integration
- Select the cards you want and add them
- You probably want to select them all and scale them together!
- Try using them in miro as above…
If the cards are not built in cardographer then jump in at the “upload to onedrive” step, but make sure that the card image filenames are all unique, as they will be used as the card IDs. (Note that many of Miro's options for uploaded images do NOT preserve the link to the filename in a way we can use, so PLEASE use OneDrive unless you are certain that another route works!)
As well as uploaded Miro board state to your own Cardographer session you can use the Cardographer Miro app to download a snapshot of the Miro board state using the "download" icon next to the session title,
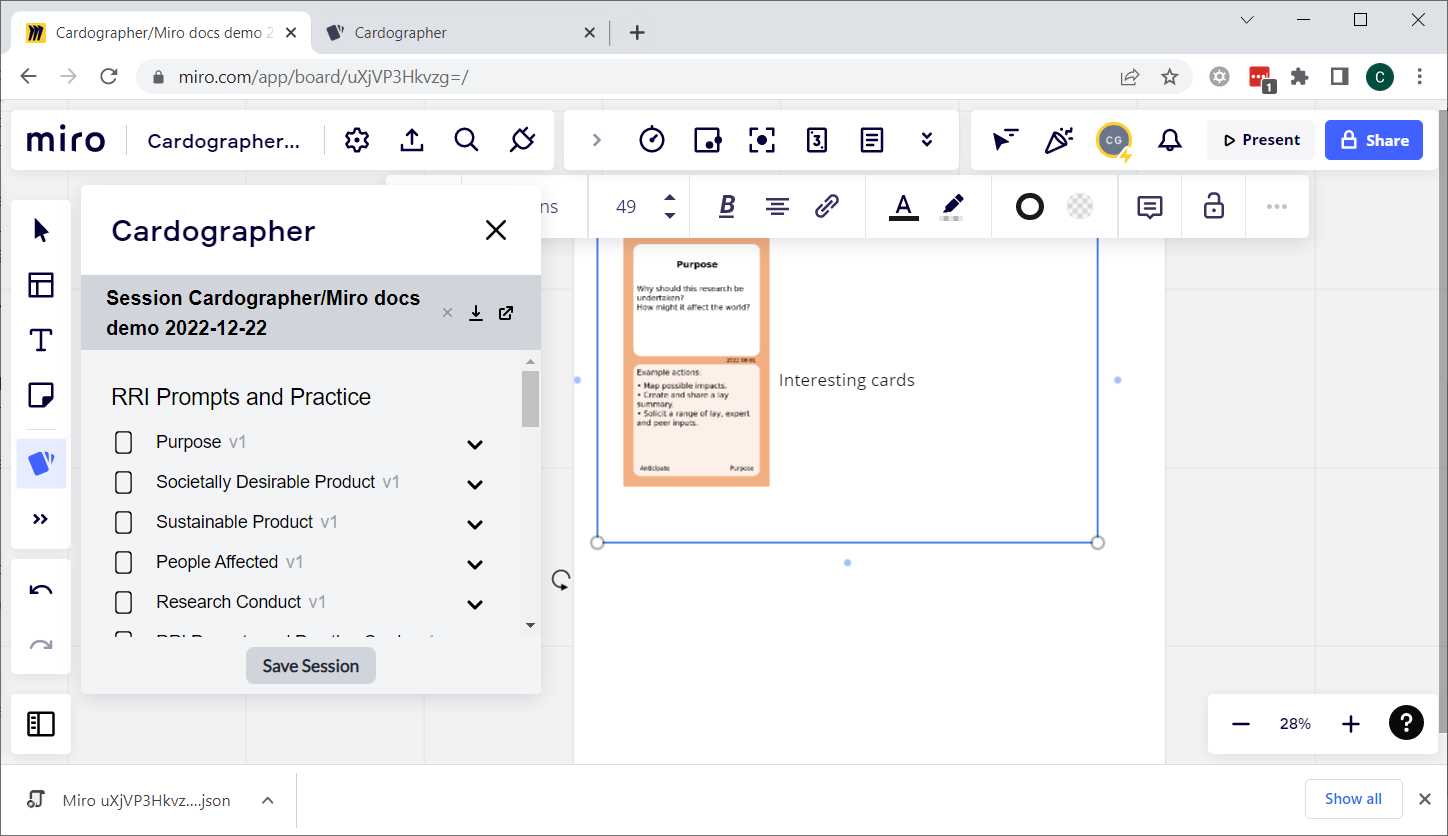
This can then be uploaded to someone else's Cardographer account. Back in the Cardographer platform…
- Under the sessions tab, select “+ Upload sessions”
- Select the JSON file you downloaded from Miro
Note that uploading the same Miro file repeatedly will have no effect. But changing a Miro board, downloading it and Uploading it again to Cardographer will result in a new session.
If you create a new session in this way then it will not be associated with the right Deck, so you will need to do this as above ("Using a Deck").
If you have a Miro board linked to a Cardographer Session then you can unlink it in the Miro Cardographer plugin by clicking the small "x" next to the session title. The view will now switch to a list of your Cardographer sessions.
You can link the Miro board back to the Cardographer session by selecting it here, or you can link it to another session or a new session. Note that you cannot link two Miro boards to the same Cardographer session.